


The Lazy man’s way of making a site
Now you might be thinking, “Oh the lazy man’s way? It must be AI!” because, let’s be honest, there is nothing lazier than using AI for everything you do. Sure, we can argue about the benefits of using AI to do something with ease like making a website, but there are a ton of flaws in AI as of right now, and relying on them to do something this mundane on the internet is just sad… Don’t become self-reliant on AI; use it as a supplement at most if need be, since at the end of the day it will only make you lazier and more incompetent.
This site was made by copying a template off of Astro. Essentially the lazy way of making a site is to grab one of these free templates and edit it yourself. So I chose the Mizuki theme, and following this redirect will actually take you to their documentation (the top right of the site has an English option). The majority of themes should have some form of documentation, which will be 100% the best way for you to understand everything once you try it out for yourself.
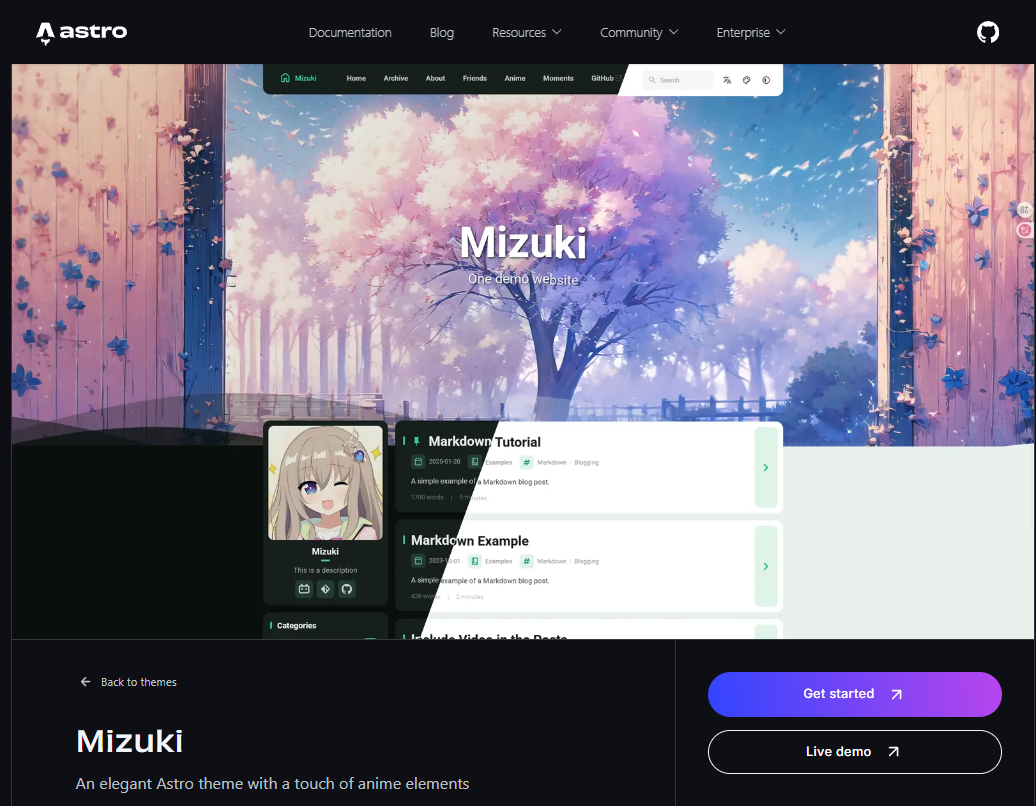
As seen above, there are 2 redirects whenever you choose a theme. Go ahead and test the live demos until you find whichever you like the most. Clicking “Get Started” will redirect you to GitHub, and I hope you have an account, because it will be needed. Now that you are on GitHub, there is a plethora of ways to copy the theme and to get started on your website! The way I copied when first attempting to do this project was entirely different from what I am about to show since this practically does the same thing with fewer steps and hassles.
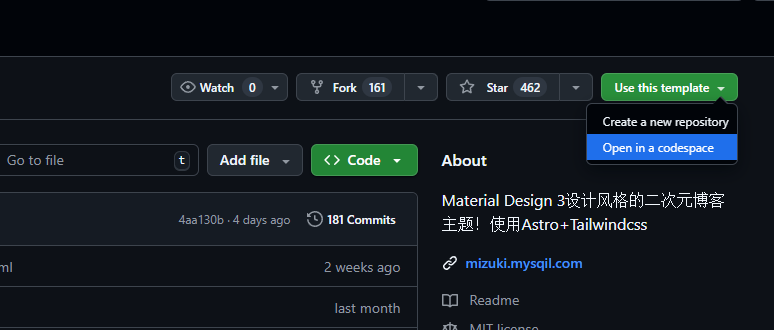
Top right of your screen, there should be a template button that has a dropdown with different selections; go ahead and choose “Create a new repository”. It will make your repo; from there, click the “Code” dropdown and navigate to codespaces, and go ahead and create the codespace for the main. Now you will have your own coding space to start manipulating your site without having to install anything.
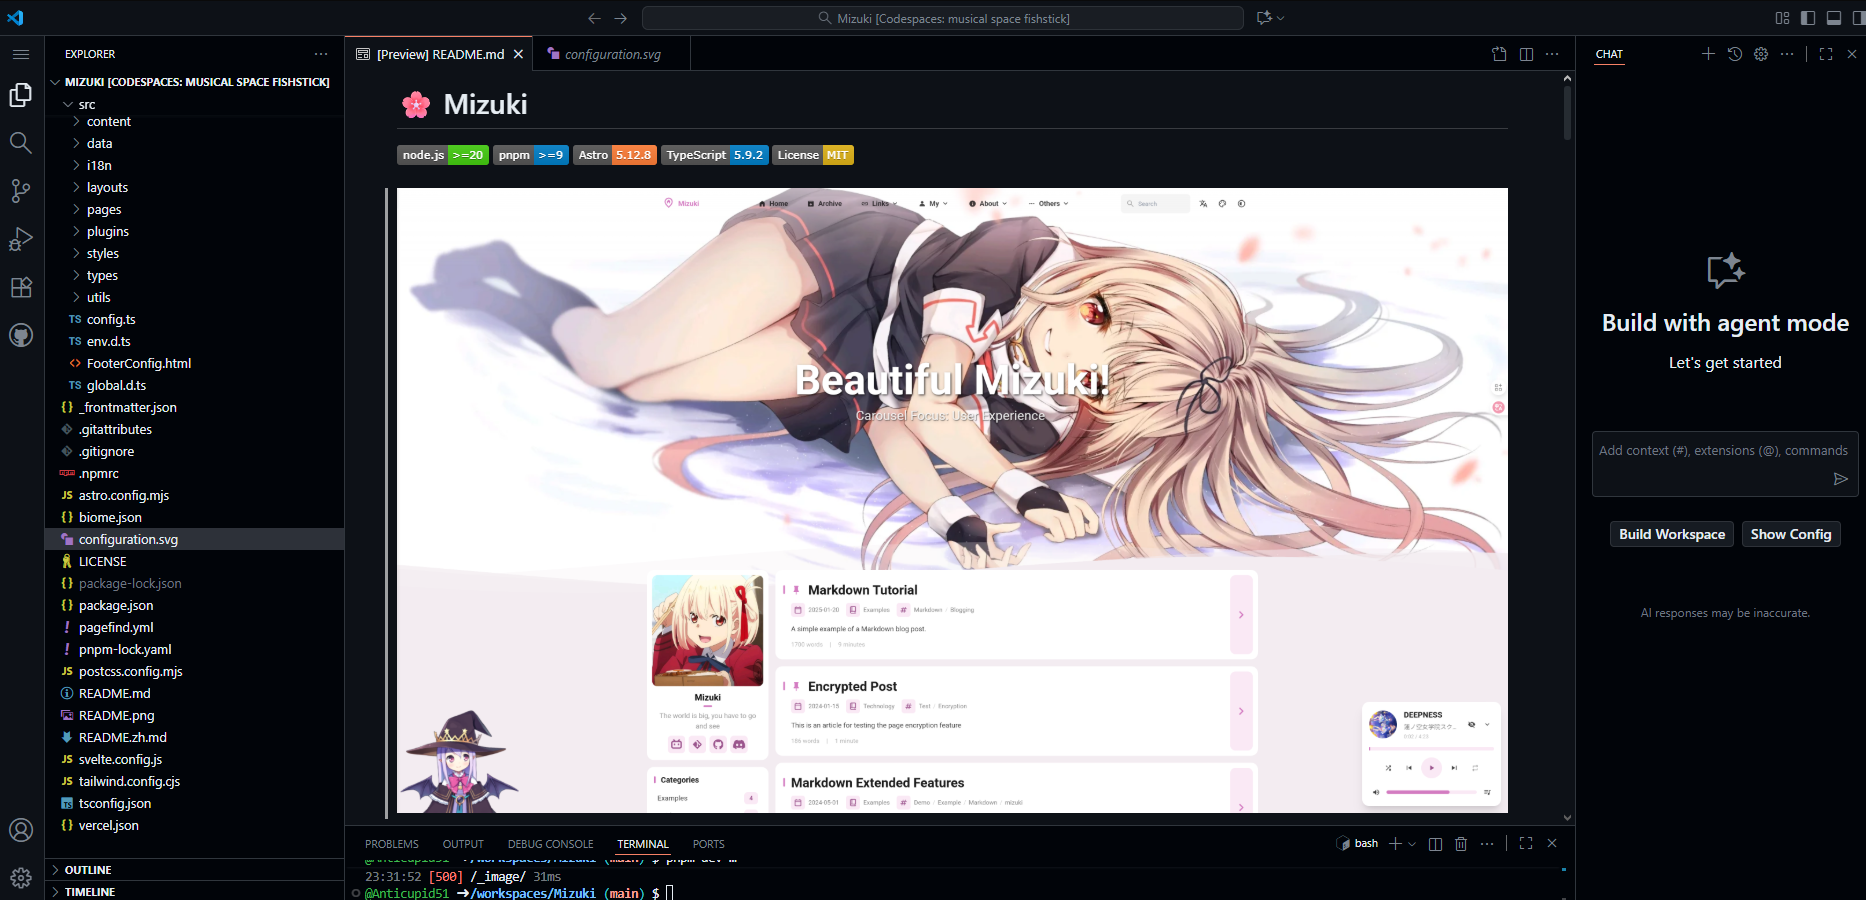
So from here on, this will mainly concern the Mizuki theme, so if you are using another theme and it doesn’t quite follow along with how Mizuki is structured, then go ahead and read the documentation for that theme and get to learning. Now, I will not hold your hand through the whole process since at the end of the day we need to know how to use our brains one way or another. I will be showing the main files that were used in the process of making this site.
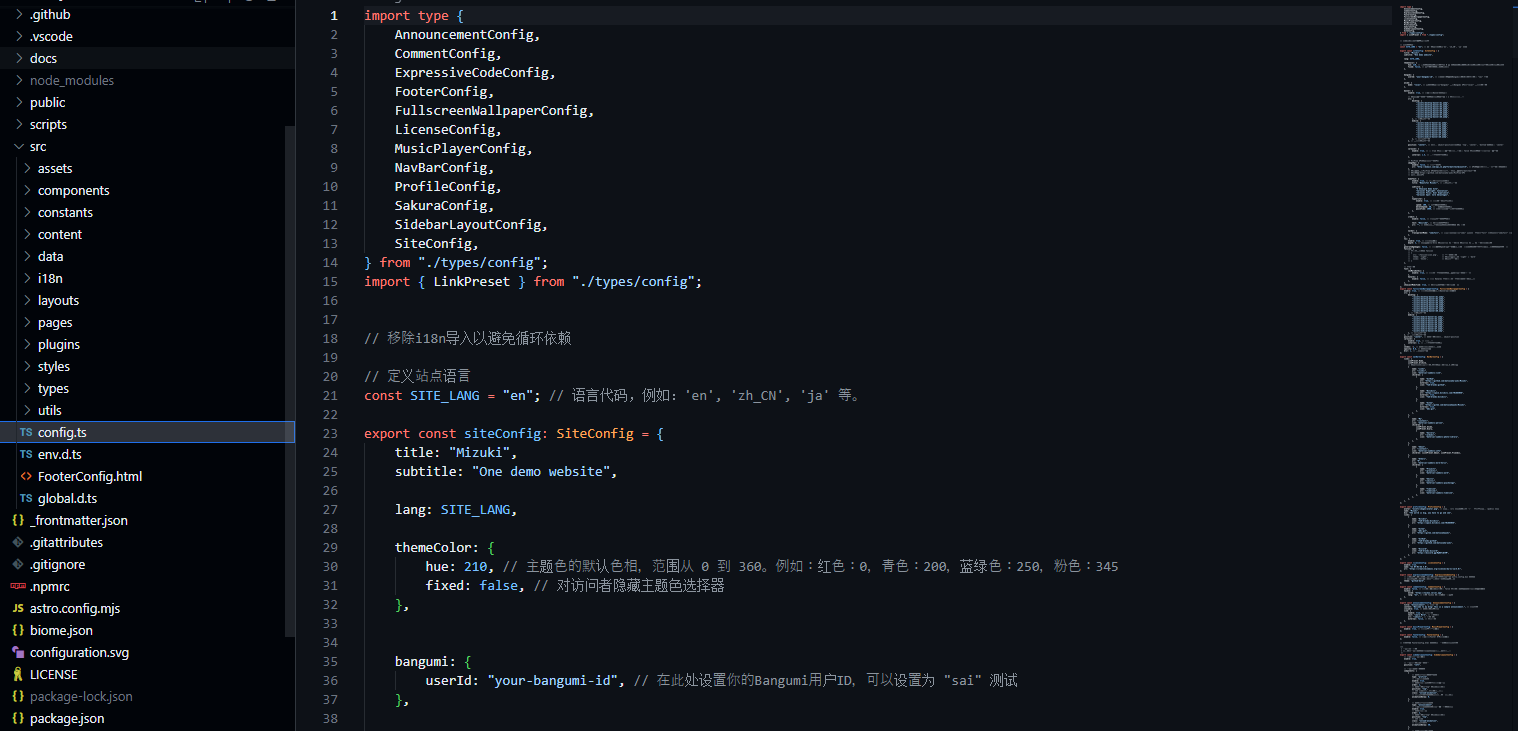
The majority of everything that you need to mess with will be located under the src tab. In the image provided, open the config.ts file under the src tab. Go ahead and start scrolling through it and attempt to figure out what everything does. If you did actually scroll and look at everything, you would have noticed our biggest issue is currently the language. Since all the comments are not in English, you can simply just Google Translate all of them and get to learning. Config.ts holds a ton of useful things within itself to help you customize the site; for example, if you don’t want anime girls as the website background because you are totally not a weeb or anything ≽^•⩊•^≼.
Simply look at config.ts for the directory ”(/assets/desktop-banner/d1.webp)”. Just a heads-up this won’t be under src; instead, it will actually be under the public folder. From here, you can change the images to something else. Also, please don’t forget the mobile banners, or there will still be anime backgrounds on it regardless of whether you changed the desktop’s. Why? Well, figure it out yourself. If you are lost, go ahead and use Google or Mr.GPT because you need to learn on your own, especially if you can’t figure out how to read directories.
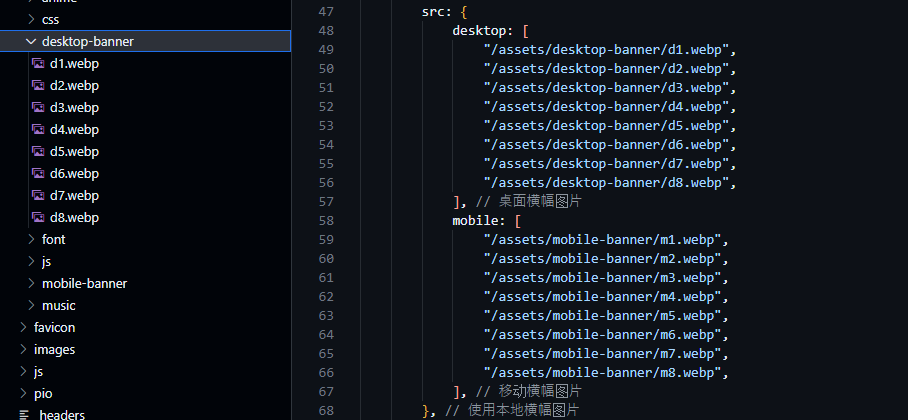
As I mentioned above, I won’t tell you how to do everything because you need to learn, and if I could do it, then you easily can as well. So next I will be showing you how to view the changes that you just made so we can ensure everything is 1. working and 2. looks like how you imagined.
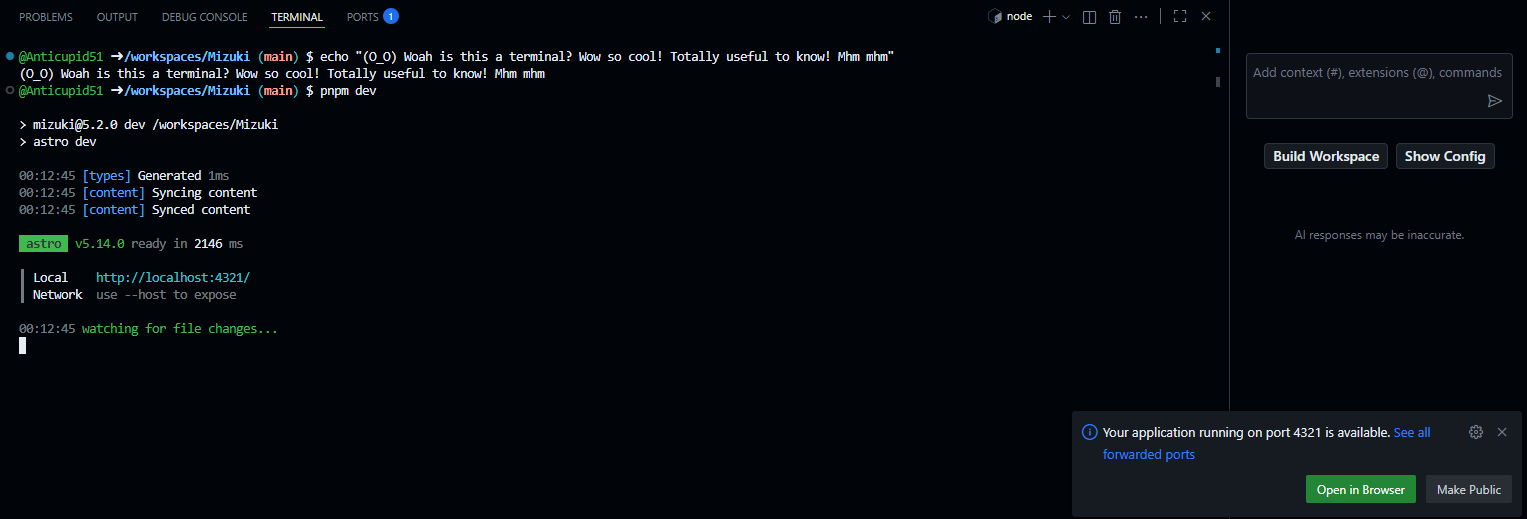
There is a terminal, and it will be how we can view this on your localhost! The image below will show how the command should output. Simply type without quotations “pnpm dev”, This will make a dummy site that only you can view, so it’s perfect for making changes without anyone seeing the embarrassing failures. Go ahead and copy and paste the link that it provides into a separate tab, and you should see your site loaded.
Once you are done with your site and all of your editing, the next part is to actually save it and update our GitHub repo. I will admit that it took me some searching to actually figure this out. Go ahead and look at the left side of your code space and find the weird-looking Y with circles on each of its points. This is called source control, and it will be the main way to push all of your commits & saves, so go ahead and click the commit button, and it should open another file that is purely text-based. You need to put some form of a name in the text, and after that, save it by simply clicking the checkmark at the top right that says “Accept Commit Message”. Now it will forward you to a screen that is essentially showing you the before and after changes to the code. Once you double-check everything, go ahead and click commit again, and it should fully update your GitHub repo with the new changes!
I won’t lie, this would have made my life so much easier if I found out about this before

Cool, now what? Well, now I will explain how I got my site as a proper site. Just a heads up, GitHub does have a feature where you can upload static pages as sites, and they will usually end with a .io, so “ThisIsNotARealSite.io” or something along those lines, but anyway, I didn’t use the GitHub method and went with the way my buddy recommended, and that would be through CloudFlare!
If you don’t know CloudFlare, then you are living under a rock, and that is fine, probably… Go ahead and click this: CloudFlare. This will open up the Cloudflare worker site, and go ahead and click Start Building. From there, make an account to access the dashboard of CloudFlare. There is a bunch of tabs, but we want Compute(Workers) <— navigate to here, and you should see a page similar to the image below.
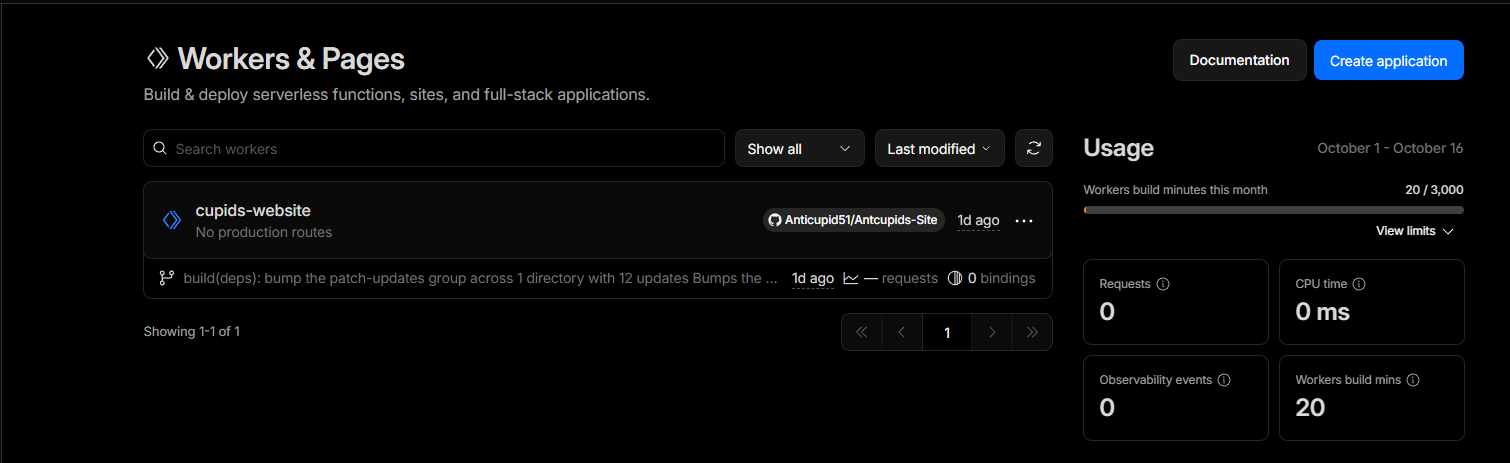
Simply click Create application > Import a repository > choose your site’s repo, and that should be it since the workers will begin to construct the site. From there you’ll notice that once the site is done, the entire name of it is whatever your Cloudflare account’s name is, and we should try not to dox ourselves hahaha, so this is where a DNS comes into play, and it will allow us to name our site whatever we want! For a small price, but to be honest, we did everything so far for free, and spending $10-30-ish a year isn’t a bad deal. I personally used the registrar of Cloudflare for my domain, so that is what will be linked here > Domains.
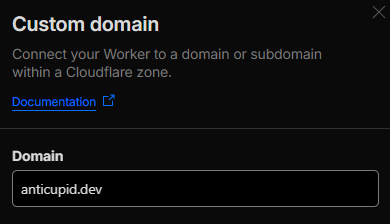
You now should have bought a domain and could be wondering, “How do I connect this to my site?” Open your Cloudflare dashboard and click the site within the Compute(Workers) tab. Roughly along the right side is an area that says “Domains & Routes”, click that and find the pencil button to the right of your site’s name. Just paste your new domain within the textbox like below, and you should be good!
That’s all there is to it, but sure, I could have used an AI and been done in a mere hour vs. 4 days of editing and configuring… Honestly, it’s hard to deny the ease of everything done by AI, but it won’t get us anywhere nor add any advantages to the job market unless you’re the person coding AI. Remember to use the tools given to you and do your best! This is 3000% easier than learning HTML & CSS, but I have big plans for the future with my own custom-made site. No themes, everything hardcoded, and a lot of fun easter eggs within it. I am rambling now, so I wish you all luck with your future journey.
P.S. There is still a good chunk of things I need to polish and fix with the site, but that will be in the near future.
Some information may be outdated